


So here we are with our project on the back beam.
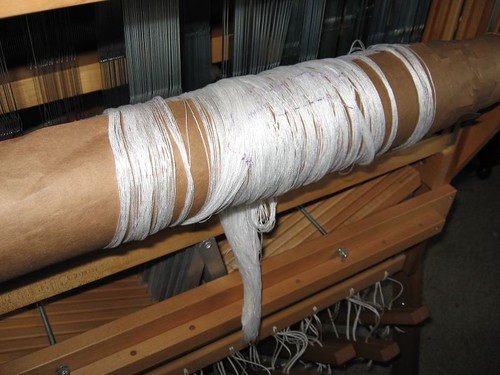
The warp was constructed with a cross, which helps keep the threads in order. The cross is held on the warping board by ties, but once on the loom, lease sticks are used to keep the cross open.
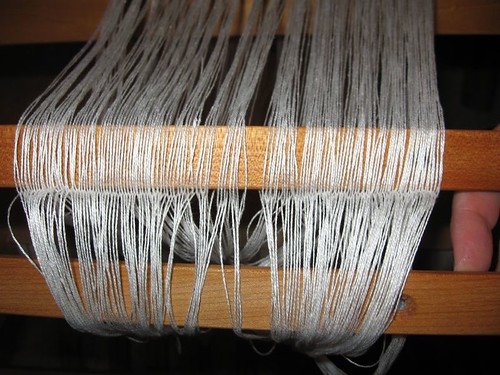
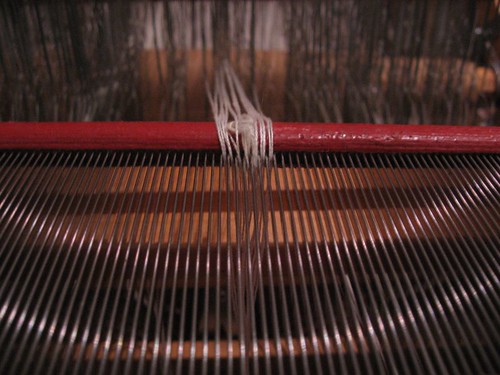
After the lease sticks are inserted, they are tied up so they hang one above the other.
What you see above is the view from the back of the loom; the warp comes up from around the back beam, through the lease sticks, and in between the harnesses on the loom. My baby wolf is an eight harness loom, which means that there are 8 frames that lift the warp threads up and down. On each frame, there are heddles, made of metal (such as on my baby wolf) or of polyester cord.
I selected a point twill threading, which means that I will need a heddle on harness 1, then a heddle on harness 2, then harness 3, and so on up to harness 8. Then harness 7, harness 6, and so on through harness 2. That threading will continue all the way across.
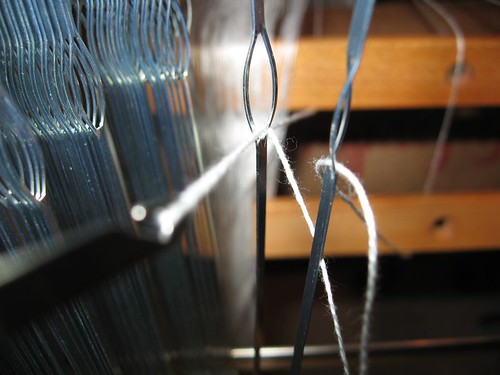
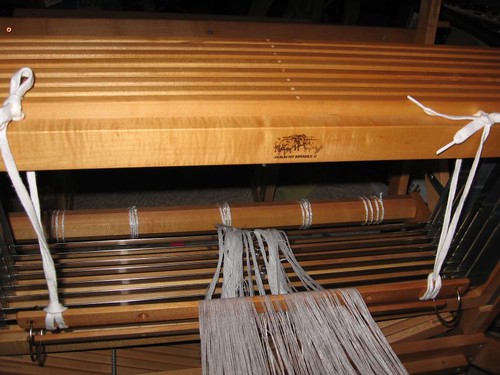
This is done with a heddle hook! After all of the heddles are threaded, it is time to sley the reed!!! I set up sticks to allow me to lay the reed down flat, which is easier for me to work with than if it is upright in the beater. If you remember in the first post, I decided to thread the warp 24 ends per inch. So I'm using my 12-dent reed (which means 12 slots/dents per inch) and thread 2 ends in each dent.
Next up, tying the warp to the front beam and tying up the harnesses!
The warp was constructed with a cross, which helps keep the threads in order. The cross is held on the warping board by ties, but once on the loom, lease sticks are used to keep the cross open.
After the lease sticks are inserted, they are tied up so they hang one above the other.
What you see above is the view from the back of the loom; the warp comes up from around the back beam, through the lease sticks, and in between the harnesses on the loom. My baby wolf is an eight harness loom, which means that there are 8 frames that lift the warp threads up and down. On each frame, there are heddles, made of metal (such as on my baby wolf) or of polyester cord.
I selected a point twill threading, which means that I will need a heddle on harness 1, then a heddle on harness 2, then harness 3, and so on up to harness 8. Then harness 7, harness 6, and so on through harness 2. That threading will continue all the way across.
This is done with a heddle hook! After all of the heddles are threaded, it is time to sley the reed!!! I set up sticks to allow me to lay the reed down flat, which is easier for me to work with than if it is upright in the beater. If you remember in the first post, I decided to thread the warp 24 ends per inch. So I'm using my 12-dent reed (which means 12 slots/dents per inch) and thread 2 ends in each dent.
Next up, tying the warp to the front beam and tying up the harnesses!
Labels: weaving

1 Comments:
Man, even with the pictures, I understand very little about weaving (except that it seems incredibly complicated!). And I even read it over three times! :)
Post a Comment
<< Home